There are a wide variety of devices designed to hold test articles at a fixed position relative to the beam available for use at NSRL. These devices can also be used to hold support equipment, cables, or anything else that needs to remain fixed with respect to the beam or test article.
It is not a requirement that the fixtures listed on this page be used, however NSRL has accumulated several that may be useful to experimenters. Moreover, this article is not exhaustive. There have been many more mounting solutions developed than can fit into this user guide. Please reach out to NSRL staff to discuss a mounting strategy for your test article if it is not adequately covered in this guide.
Clamps and Vises
The most straightforward way test articles are held is through the use of a vise. Vises are especially convenient devices for holding circuit boards so that they are perpendicular with the axis of the beam, either by clamping to the edges of of the board or to a safe region on the face.
NSRL Vise
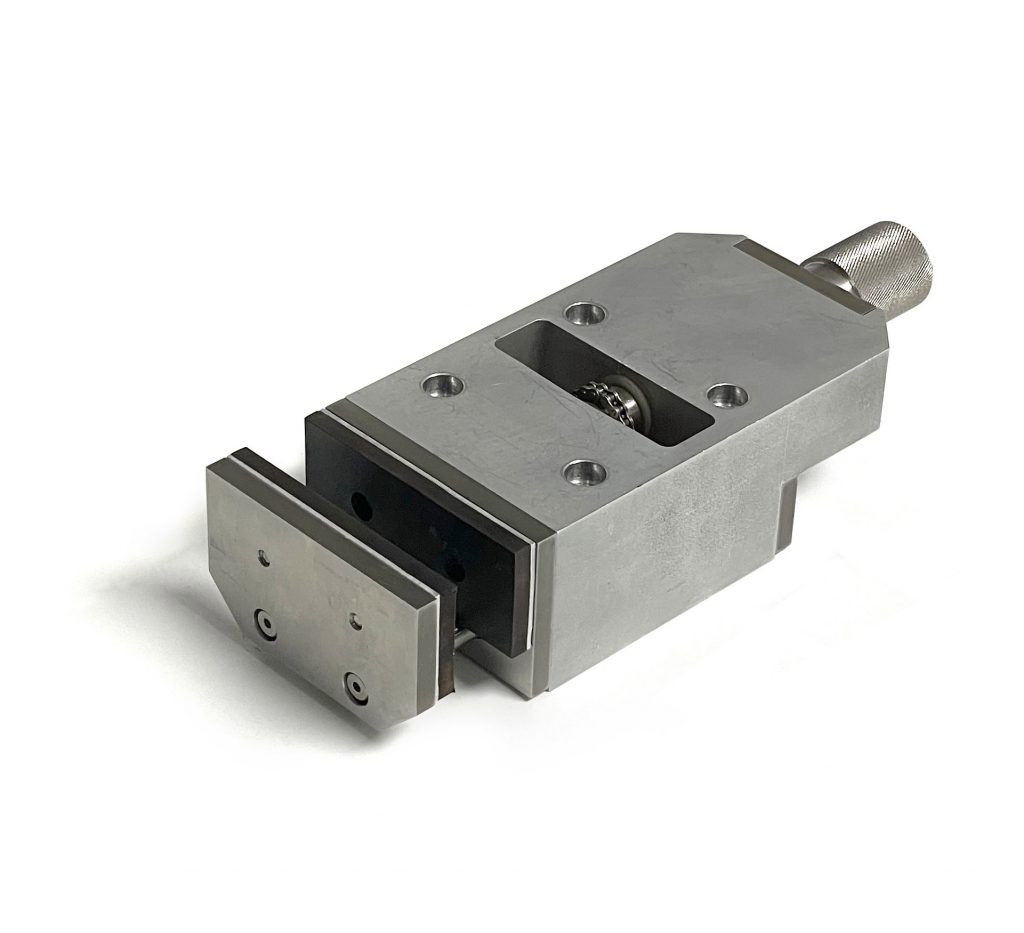
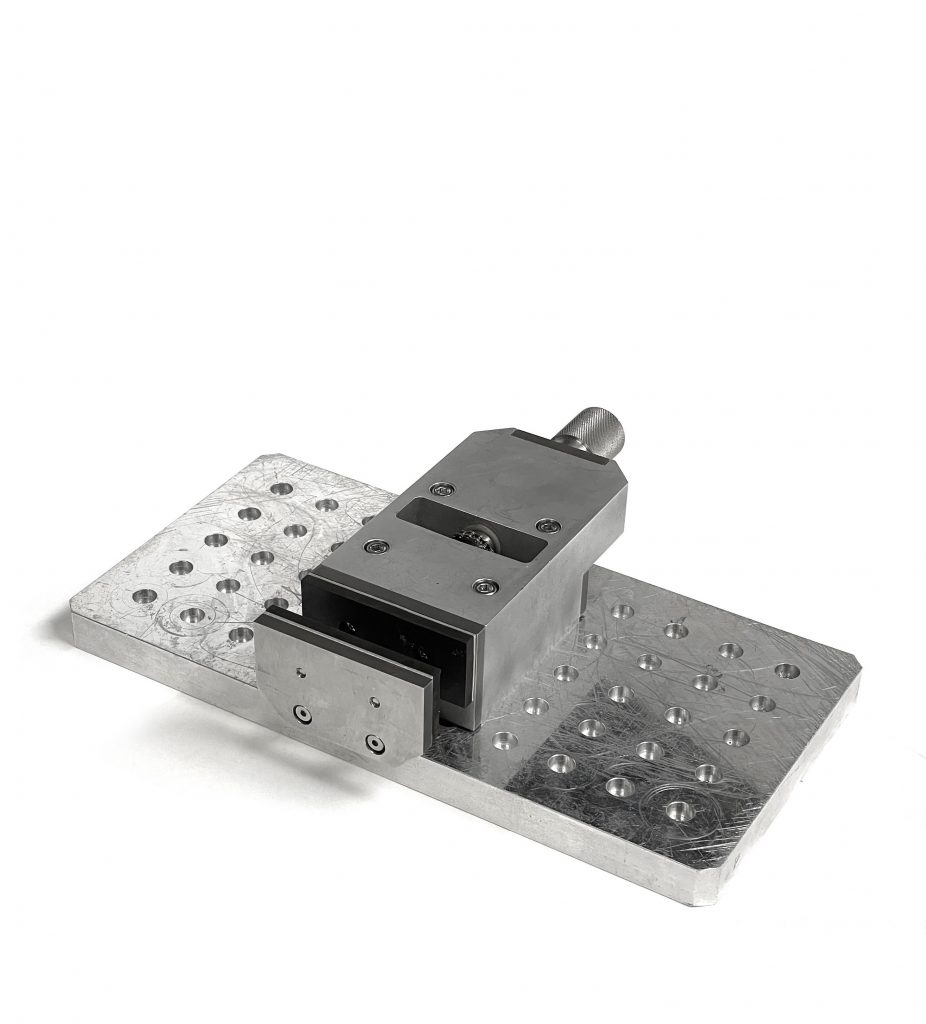
The sample holder most commonly used at NSRL is a low-profile mechanical vise which has been designed and manufactured on site specifically to meet the needs of many electronics testing experiments. An image of the vise is shown to the left.
The vise features rubber-padded jaws that can be opened to a maximum of 1.47 inches (37.3 mm) wide. Its design permits attachment directly to a standard NSRL breadboard where it sits a mere 1.94 inches (49.2 mm) above its surface.
NSRL has two such vises which are identical in construction.
The figure below is a simplified dimensional drawing of the vise.

PanaVise Vises
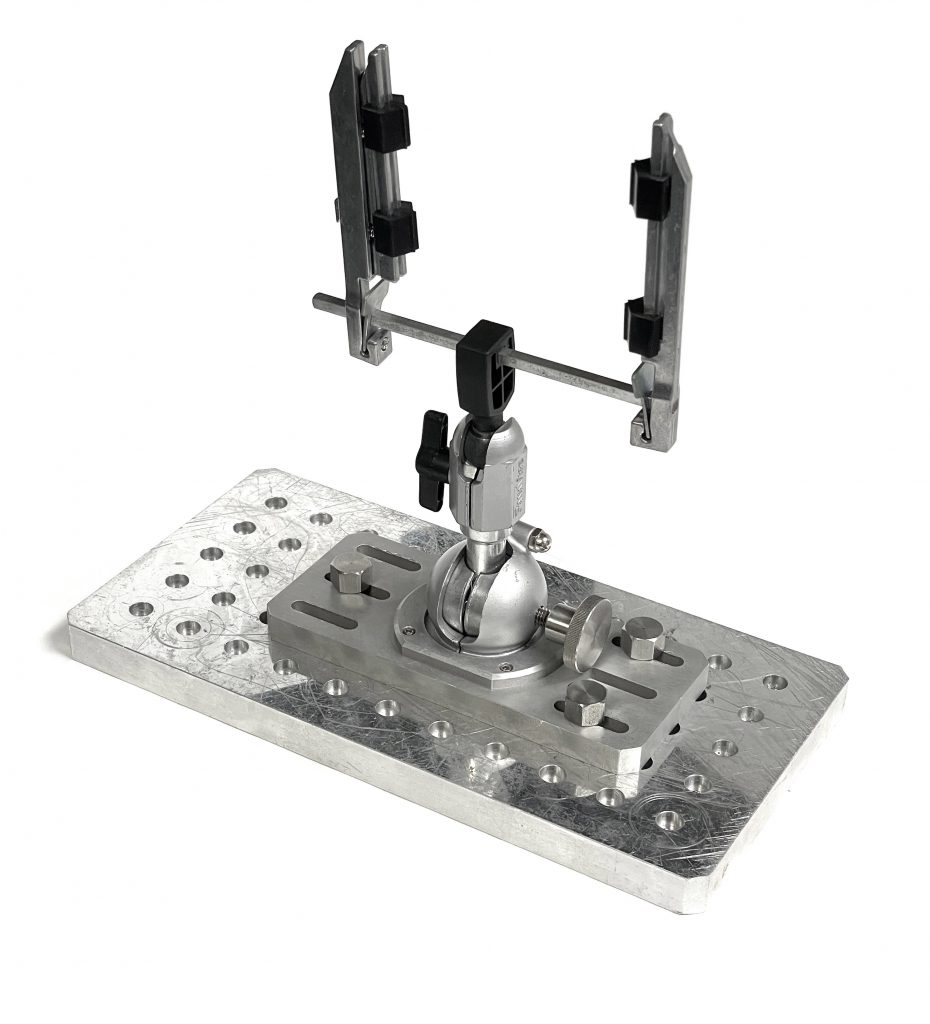
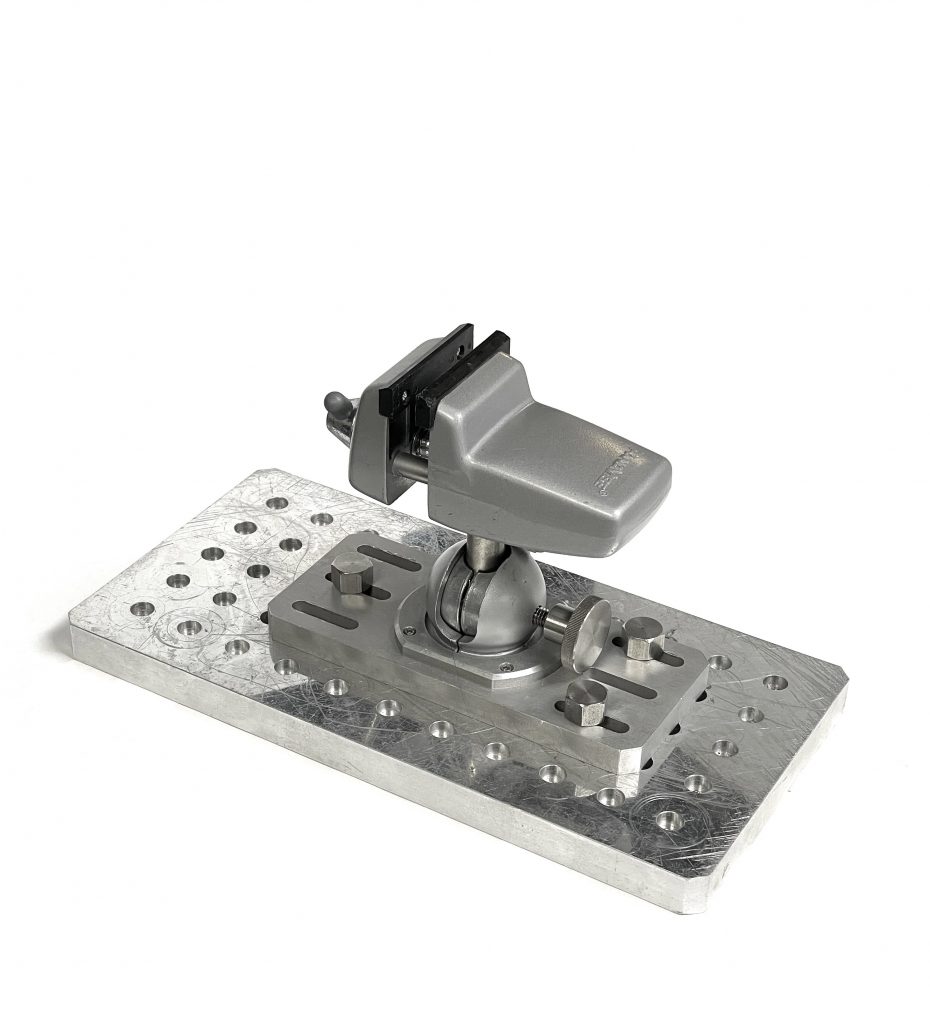
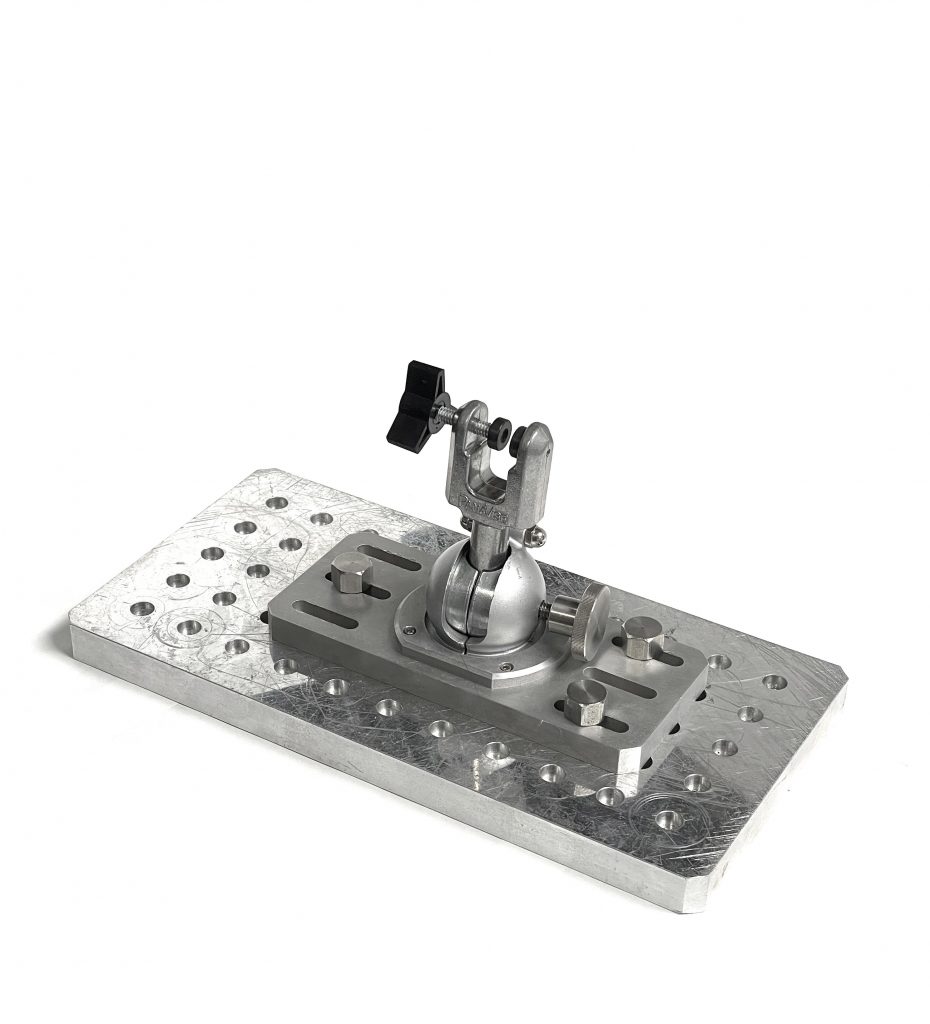
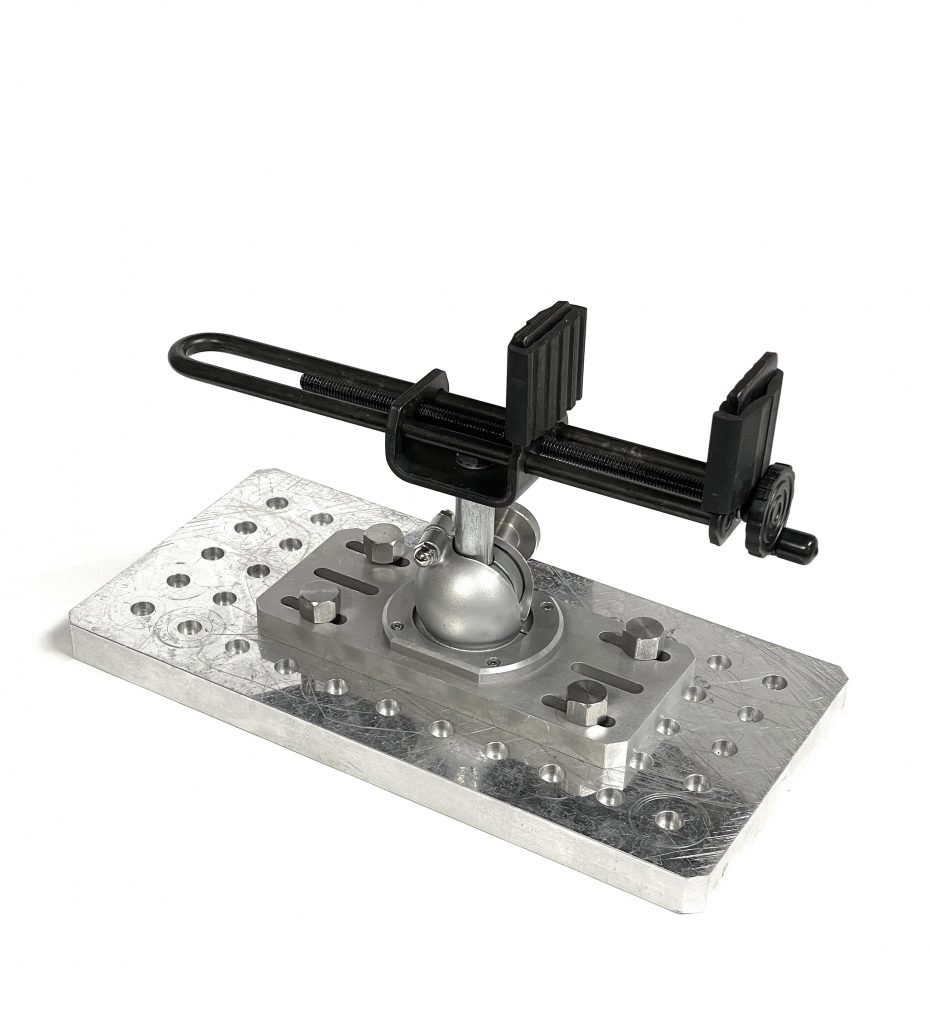
NSRL has several adapters that allow PanaVise and PanaVise compatible fixtures to be mounted to standard breadboards. NSRL also maintains a selection of PanaVise vise heads for use by experimenters.
The images below show a selection of several PanaVise-type clamps affixed to a 6×12 breadboard through the use of one such adapter.

Flask Clamps
NSRL maintains a large supply of standard chemistry flask holder clamps and compatible accessories. These can be used to hold complex geometries at arbitrary positions with respect to the beam, as well as to provide additional support to other fixtures. They are also commonly used to hold cables for setups that make use of many.
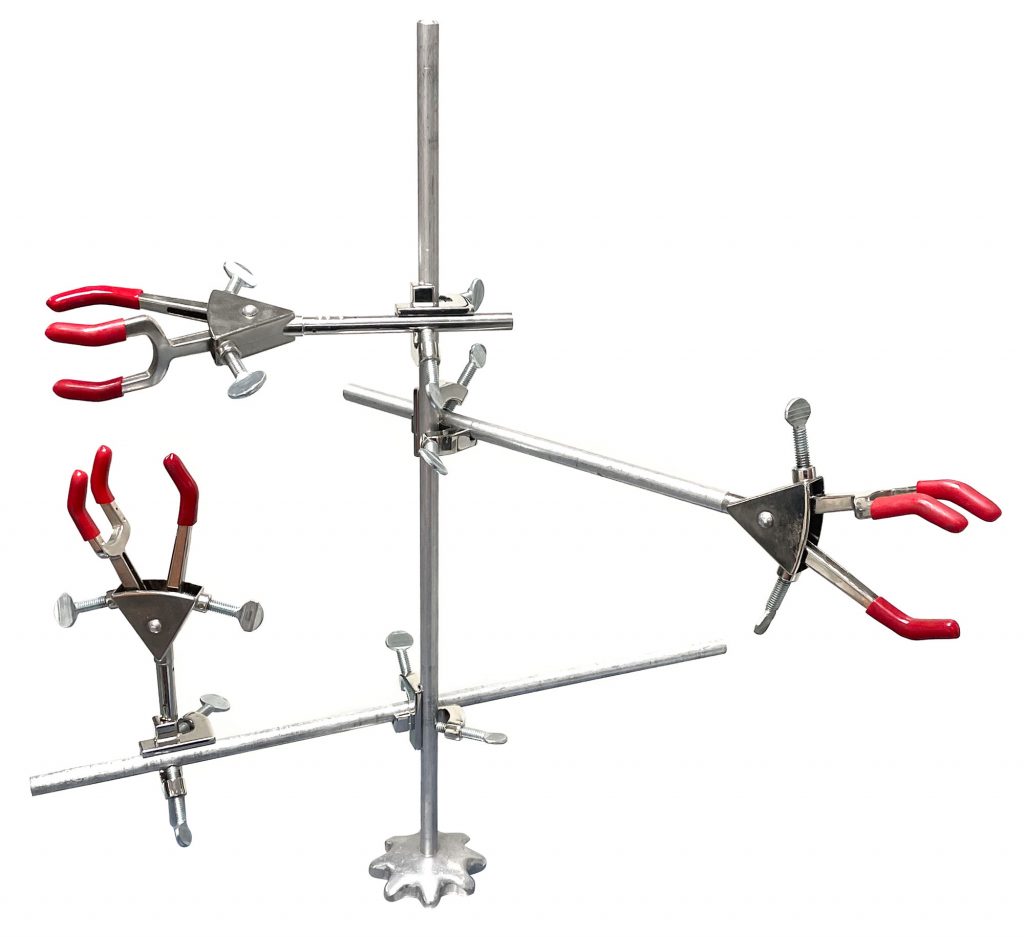
The flask holder clamp arms are generally attached to 0.44 inch (11.1mm) diameter, 13 inch (330mm) tall posts with 1/4-20 threaded bases. These posts can be affixed to any 1/4-20 threaded hole, such as those on the breadboards.
The image below shows a nonsensical arrangement of flask clamps on a single mounting post.
Directly to Breadboard
Depending on the experiment type and the geometry of the test article, items can be affixed directly to breadboards. This can be done either by bolting the item to the breadboard if it has appropriately sized and spaced through-holes, or by holding the item to the board with any number of breadboard compatible brackets and clamps.
[add example picture]
It should be noted that, for the most part, breadboards can only be fixed in a horizontal orientation with respect to the beam.
User-Designed Fixtures
The use of user-designed mounting systems is encouraged, especially in the cases where test article geometry is especially complex or if the same setup is to be used across multiple test visits. Well-designed fixtures can significantly reduce experimental setup times. Many users have had success with custom fixtures, especially those who have utilized custom PCBs for high throughput testing or 3D-printed holders for test articles that would otherwise be awkward to hold with NSRL’s own fixtures.
During the design of such fixtures, it is recommended that users reference this user guide as well as consult directly with NSRL staff members. The list that follows is a collections of recommendations and best practices collected by NSRL through operational experience with many different user groups and setup apparatuses.
User Fixture Recommendations and Best Practices
- Generally, any custom fixture will be attached to a standard NSRL breadboard plate. Since the breadboard holes are themselves threaded, it is best to use through holes rather than threaded holes on the fixture.
- Ensure that there exists enough vertical clearance to position the test article at the appropriate location in the beam when the fixture is attached to both translation stages. In our experience, custom fixtures are often too tall.
- Remember that the vertical and horizontal position of the test setup can be adjusted through the use of translation stages. As such, adjustability in these axes is not an especially important consideration for a custom design. Custom fixtures should keep the test article low and close to the breadboard (in order to ensure adequate vertical clearance) since the vertical translation stage has a large enough range of travel to make up for any lost height.
- If the fixture is designed to remain in one set position relative to the beam, consider adding beam centerline marks in the horizontal and vertical axes to allow for easier positioning using the laser alignment system. It is most useful if these marks are on both the front and back of the fixture.
- While fixtures for larger test setups can be designed to attach directly to the rails, this is not recommended unless absolutely necessary. Such fixtures should be built out of materials that will not scratch or otherwise damage the stainless steel rails themselves.
Rail Mounts
While the target room rail system is designed to hold larger equipment, there are some holders that can be used to affix items directly to the rails rather than through a breadboard or translation stage. This is generally not recommended for test articles themselves due to the limited selection of holders and lack of adjustability, however they can be a good option for support equipment like cables, cameras, or heat guns especially if there is not adequate space on the breadboard holding the test article.
The images below depict two kinds of direct rail mounts.
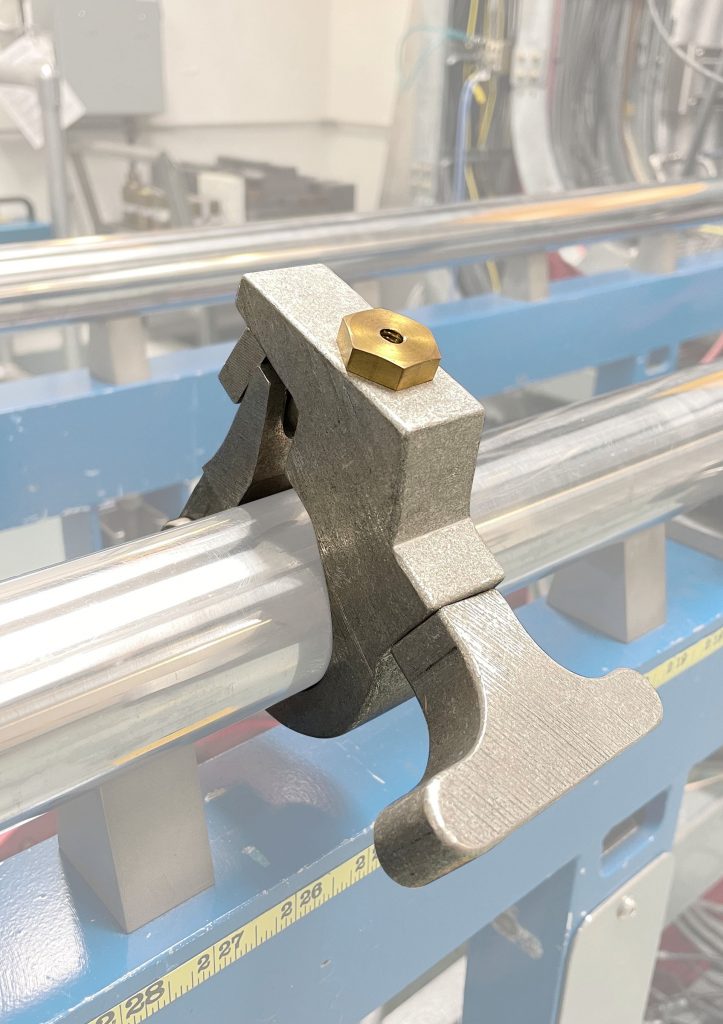
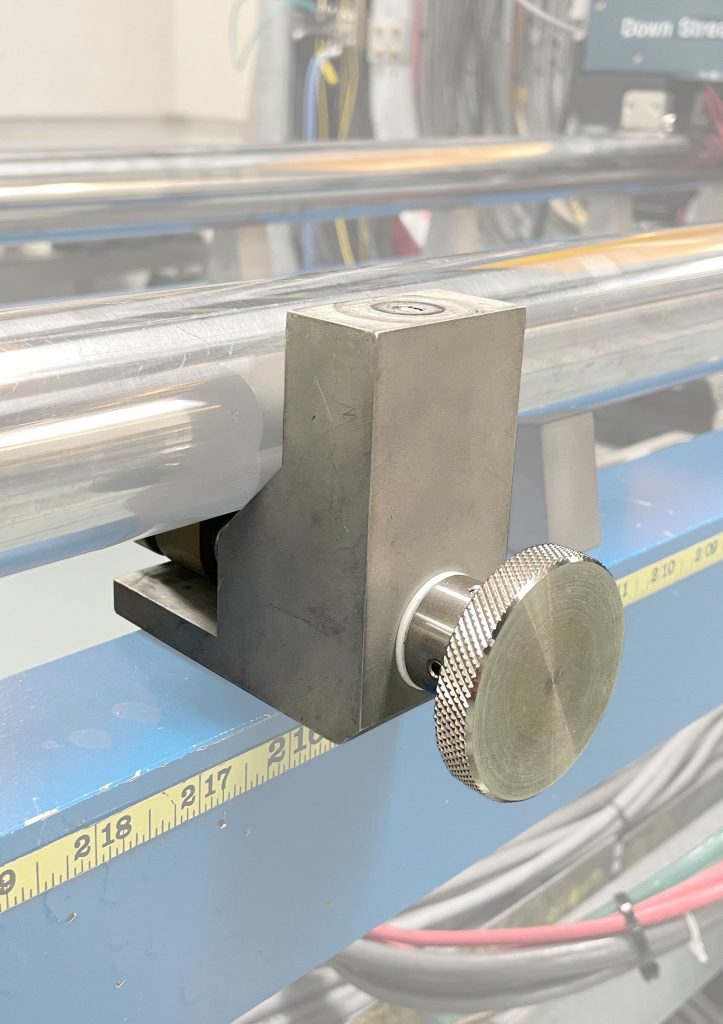
The fixture shown on the left clamps directly to the rail at any angle and provides a single 1/4-20 threaded hole to which items can be affixed. Typically these would be the posts and arms flask clamps. The fixture shown on the right wedges between, and locks to, the parts of the rails that are directly supported by a frame. It also provides a single 1/4-20 threaded hole oriented vertically.
Temporary and Single Use Fixtures
The use of disposable fixtures such as zip ties or tape is permitted, provided that no adhesives come into contact with the target room’s epoxy floors. Users are encouraged, however, be mindful of their use of single use fixtures wherever possible. To that end, there is large supply of reusable zip ties available in the NSRL target room.
NSRL does maintain a supply of Kapton tape which is available to users, however users are encouraged to bring their own if they anticipated needing a large amount.
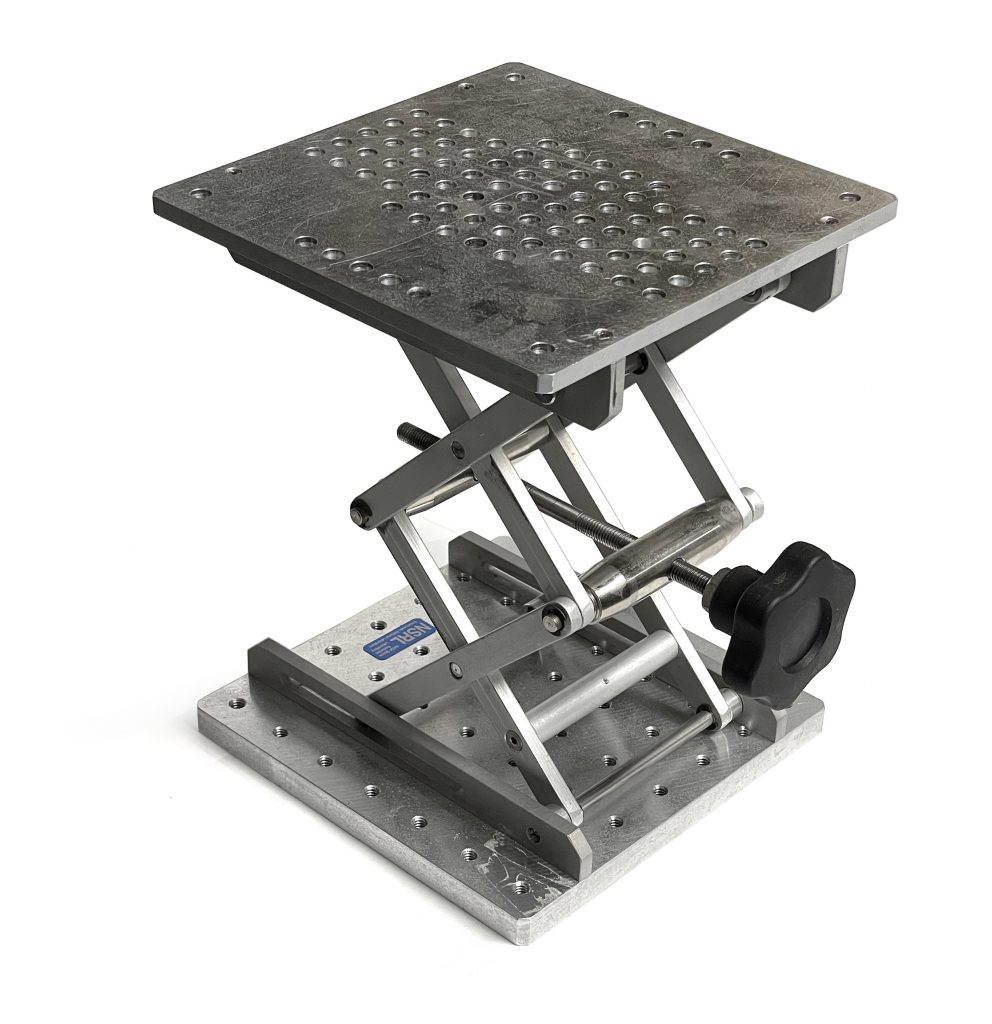
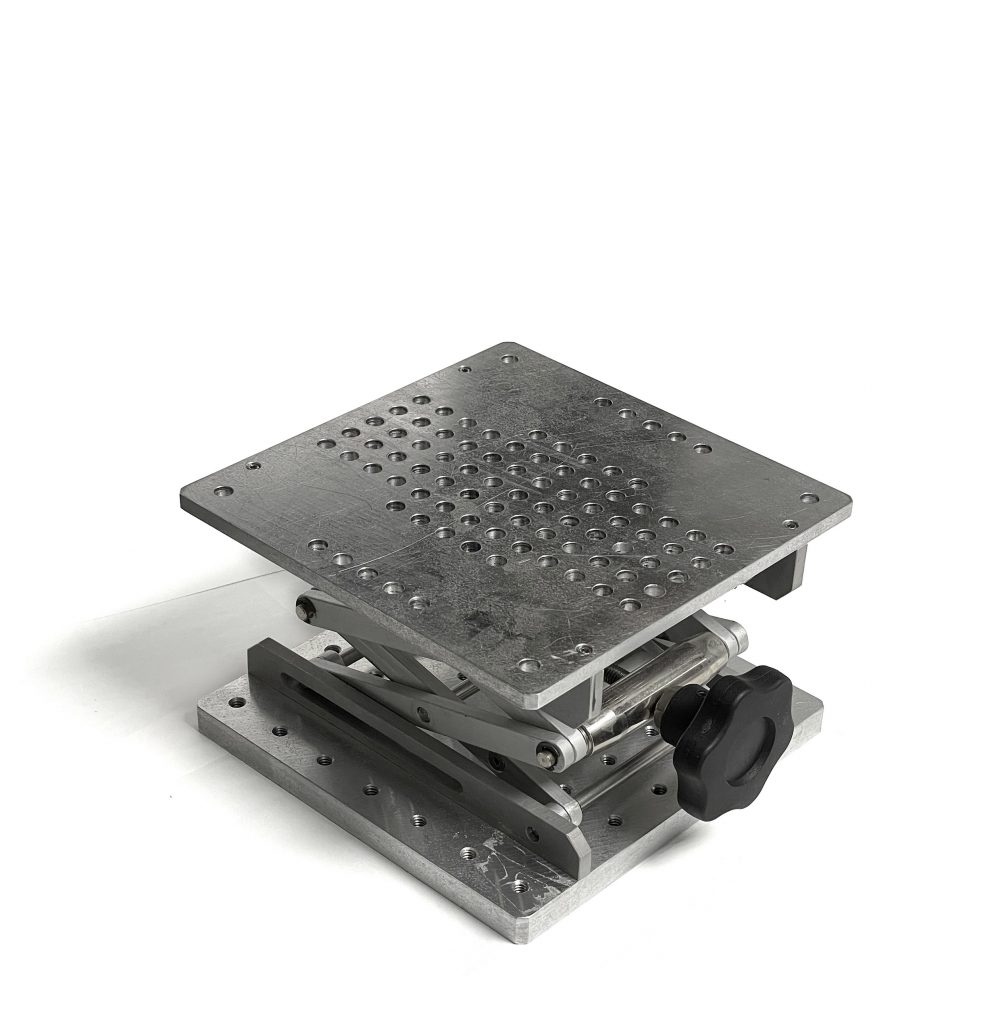
Scissor Lift
This page was last modified: